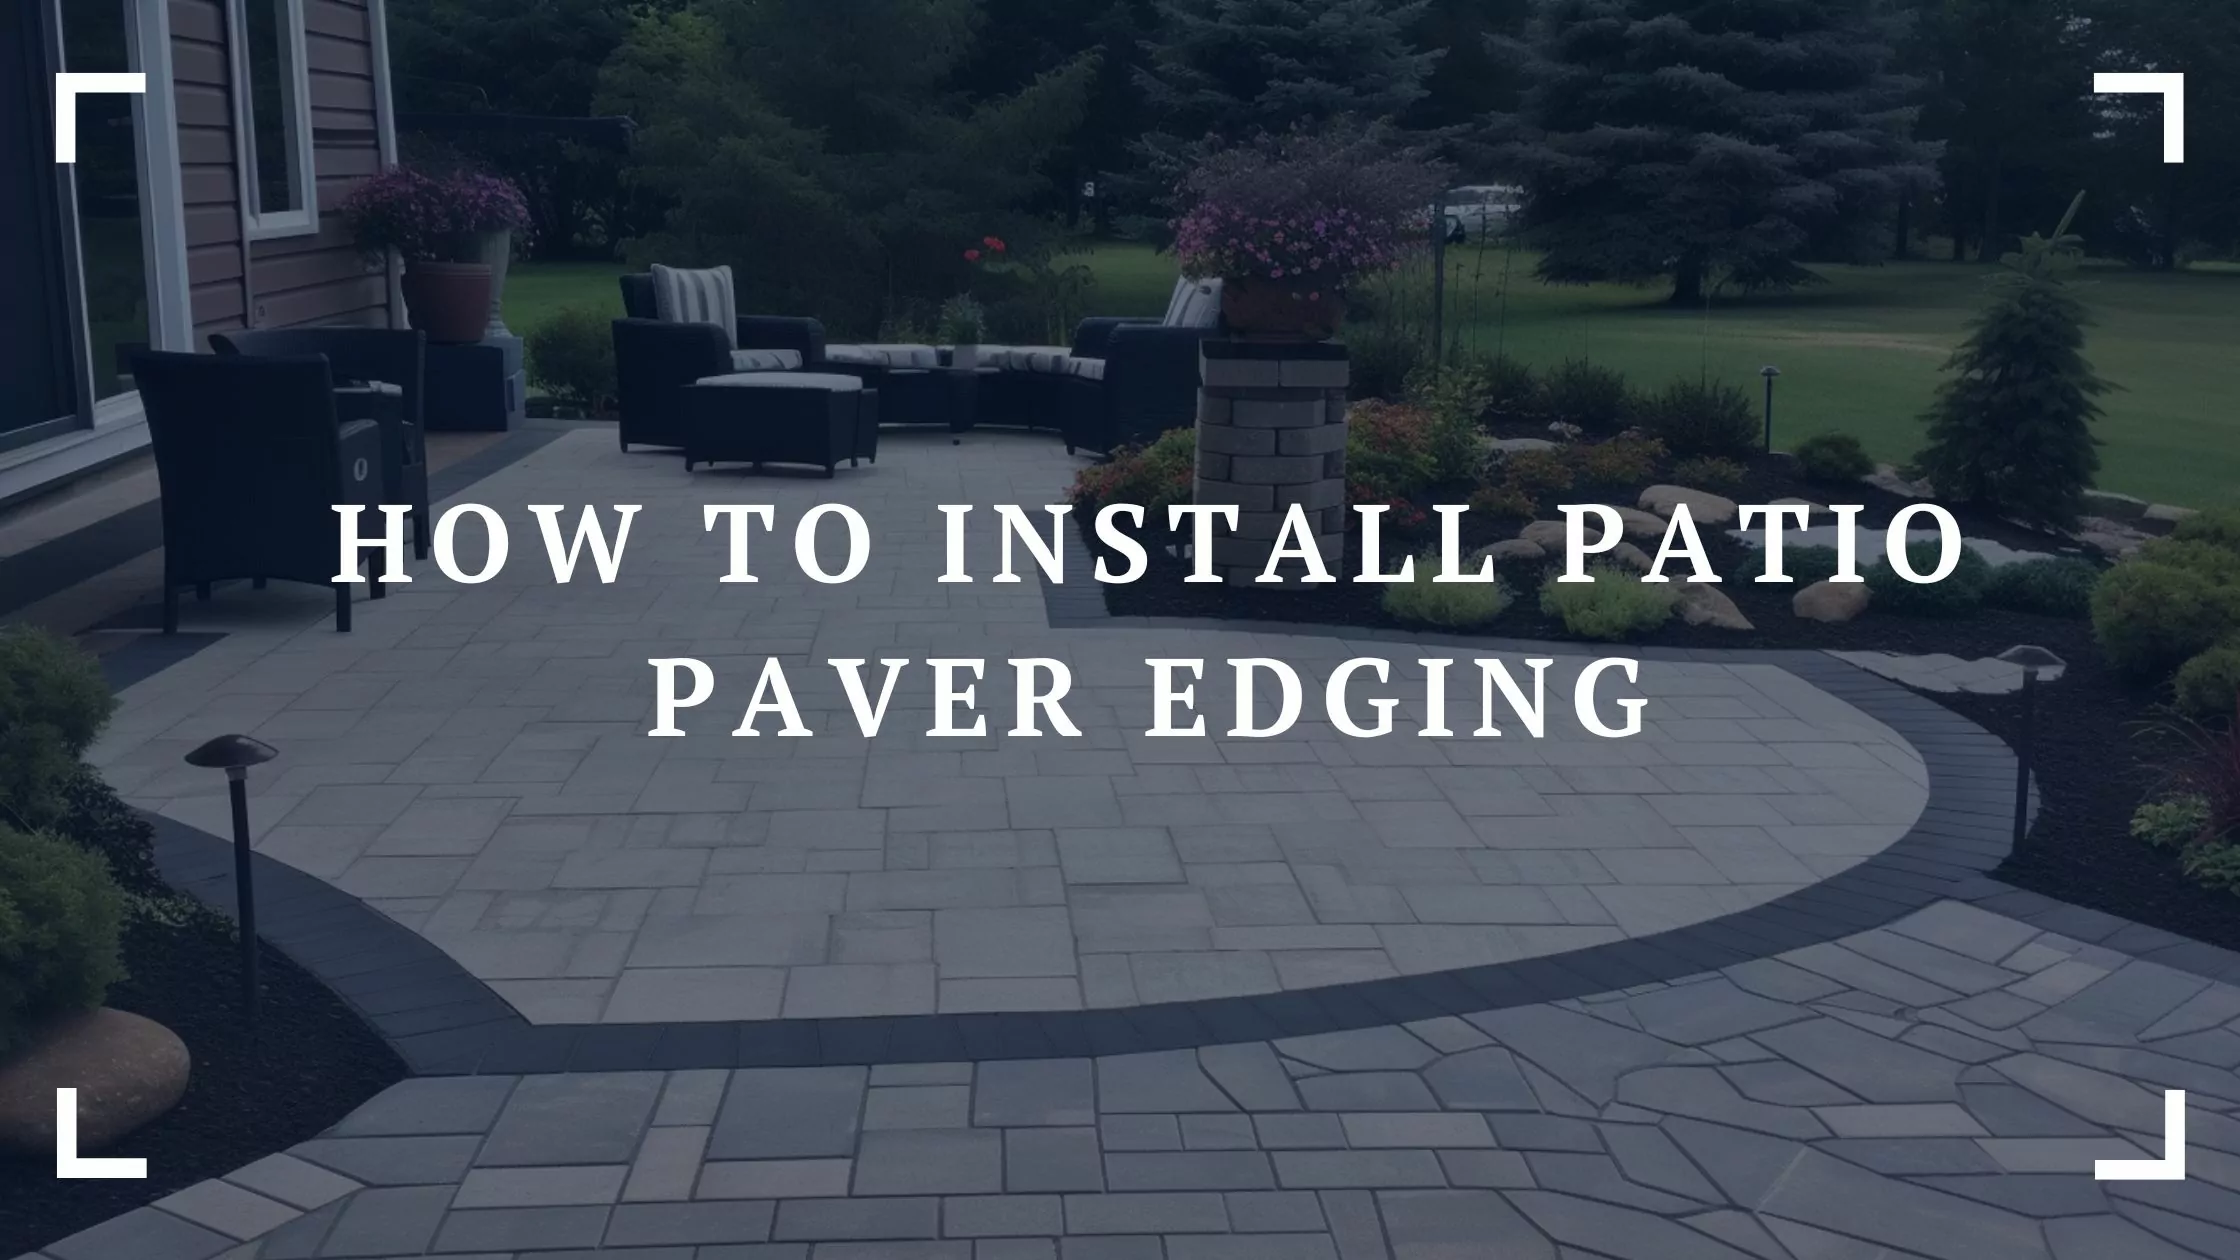
Patio paver edging serves as a vital finishing touch for any hardscape project. Not only does it enhance the visual appeal of your outdoor space, but it also ensures the longevity of your patio by providing structural support and preventing paver shifting. In this comprehensive guide, we will walk you through the entire process of installing patio paver edging, from selecting the right materials to the final touches. Follow these steps to create a stunning and durable patio that will last for years to come.
Step 1: Necessary Tools and Materials
In this section, we will list the various edging materials available for your patio paver project. The right material can greatly influence the overall look and durability of your patio, so it’s important to carefully consider your options. To help you make an informed decision, we’ve compiled a list of popular edging materials, along with their respective benefits and drawbacks, on our dedicated page on Patio Paver Edging Ideas.
List of Materials
- Patio paver edging material (metal, plastic, or concrete)
- Sand or gravel for the base
- Soil or mulch for backfilling
- Pavers
- Joint filling material (sand or polymeric sand)
Tips for Selecting the Right Materials
- Consider your patio design and style: Choose an edging material that complements the overall look and design of your patio, as well as the surrounding landscape.
- Evaluate your budget: Different edging materials come with varying price tags. Determine your budget and select a material that fits within your price range without compromising on quality.
- Assess durability and maintenance requirements: Some edging materials require more frequent replacement or maintenance than others. Choose a material that meets your desired level of durability and maintenance needs.
- Research local availability: Some materials may be more readily available in your area than others. Check with local suppliers to ensure you can source your chosen material easily.
- Factor in installation complexity: Some edging materials are easier to install than others, which can be an important consideration if you plan to tackle the project yourself. Be sure to select a material that aligns with your skill level and experience.
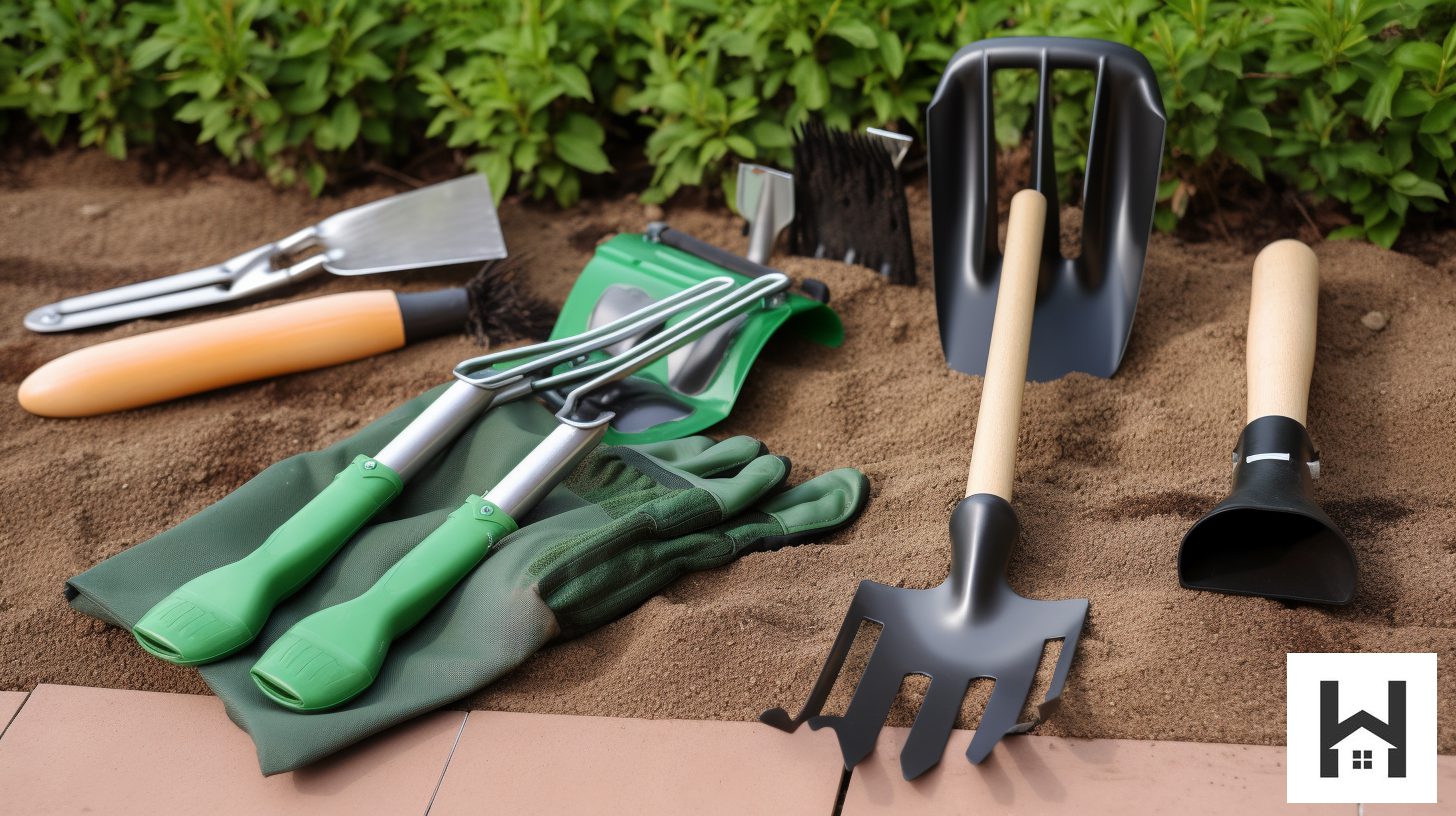
List of Tools
- Measuring tape
- Marking paint or string
- Shovel or edger
- Hand tamper or plate compactor
- Level
- Garden gloves
- Rubber mallet
- Landscape spikes or stakes
- Hammer
By gathering the necessary tools and materials and carefully selecting the right materials for your project, you’ll be well-equipped to create a beautiful and durable patio paver edging that enhances your outdoor space.
Step 2: Preparing the Area
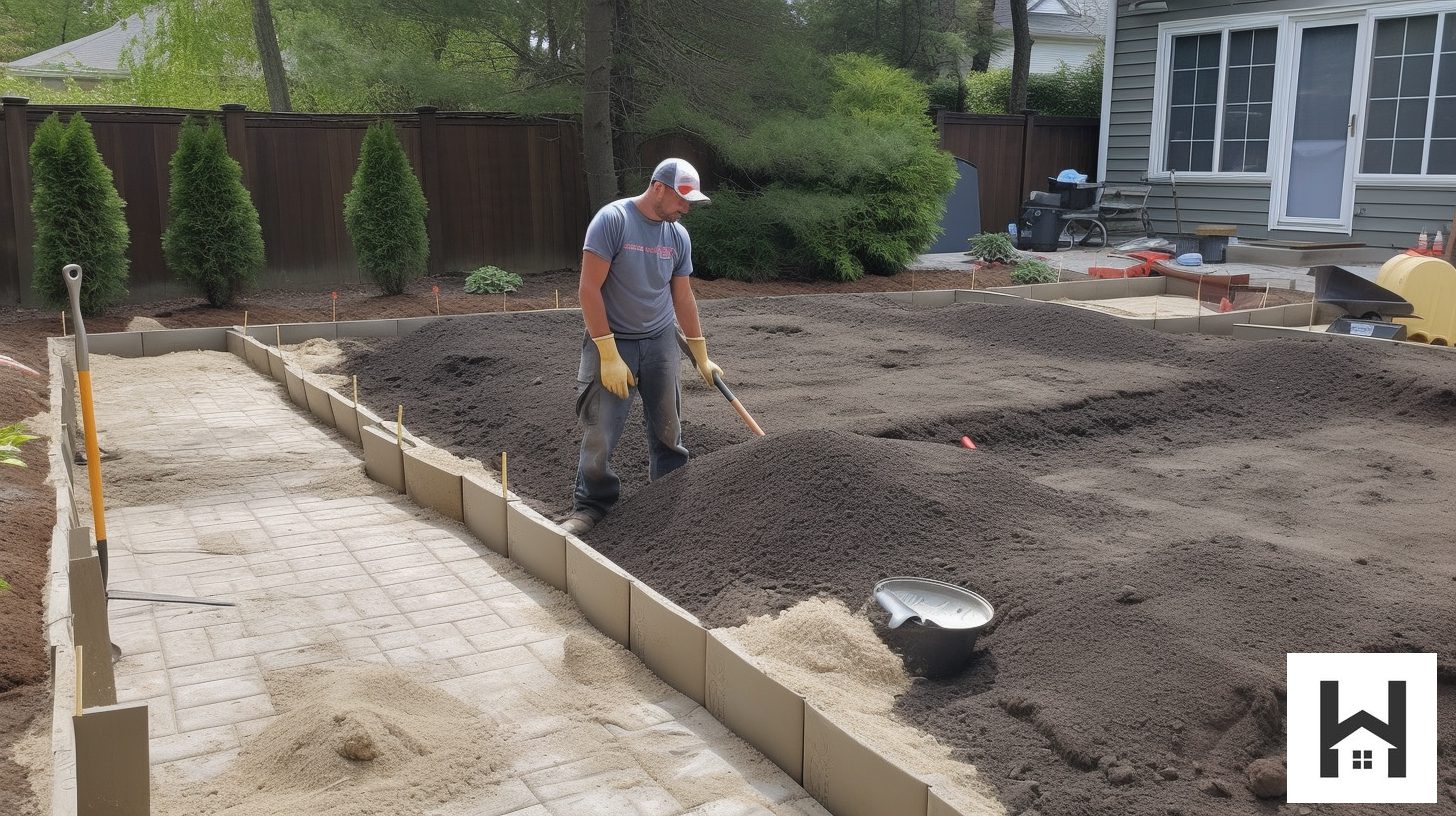
Before you can begin installing your patio paver edging, it’s essential to properly prepare the area. In this section, we’ll walk you through the process of assessing the space, marking the boundaries, excavating the area, and leveling and compacting the base to create a solid foundation for your patio paver edging.
Assessing the Space
- Determine the layout: Begin by determining the layout and design of your patio, including the desired shape and size of your edging.
- Check for utilities: Before digging or excavating, make sure to locate and mark any underground utilities in the area to avoid potential hazards.
- Evaluate drainage: Ensure that the area has adequate drainage to prevent water pooling or erosion around your patio paver edging.
Marking the Boundaries
- Measure and mark the perimeter: Using a measuring tape, determine the exact dimensions of your patio, including the area where the edging will be installed. Mark the perimeter using string or spray paint to create a visual guide.
- Double-check measurements: Recheck your measurements to ensure accuracy and make any necessary adjustments to your marked boundaries.
Excavating the Area
- Dig a trench: Using a shovel or edger, dig a trench along the marked boundaries. The width of the trench should be slightly wider than your chosen edging material, and the depth should allow for a 2-3 inch base of compacted sand or gravel.
- Remove debris: Clear the excavated area of any rocks, roots, or other debris that could interfere with the installation of your edging material.
Leveling and Compacting the Base
- Install base material: Fill the trench with a 2-3 inch layer of compacted sand or gravel to create a stable base for your edging material.
- Level the base material: Using a level, ensure that the base material is even and consistent throughout the trench.
- Compact the base material: Use a hand tamper or plate compactor to compact the base material, creating a solid foundation for your patio paver edging.
By properly preparing the area, you’ll create a strong foundation for your patio paver edging, ensuring a successful installation and a long-lasting, beautiful result.
Step 3: Laying the Pavers
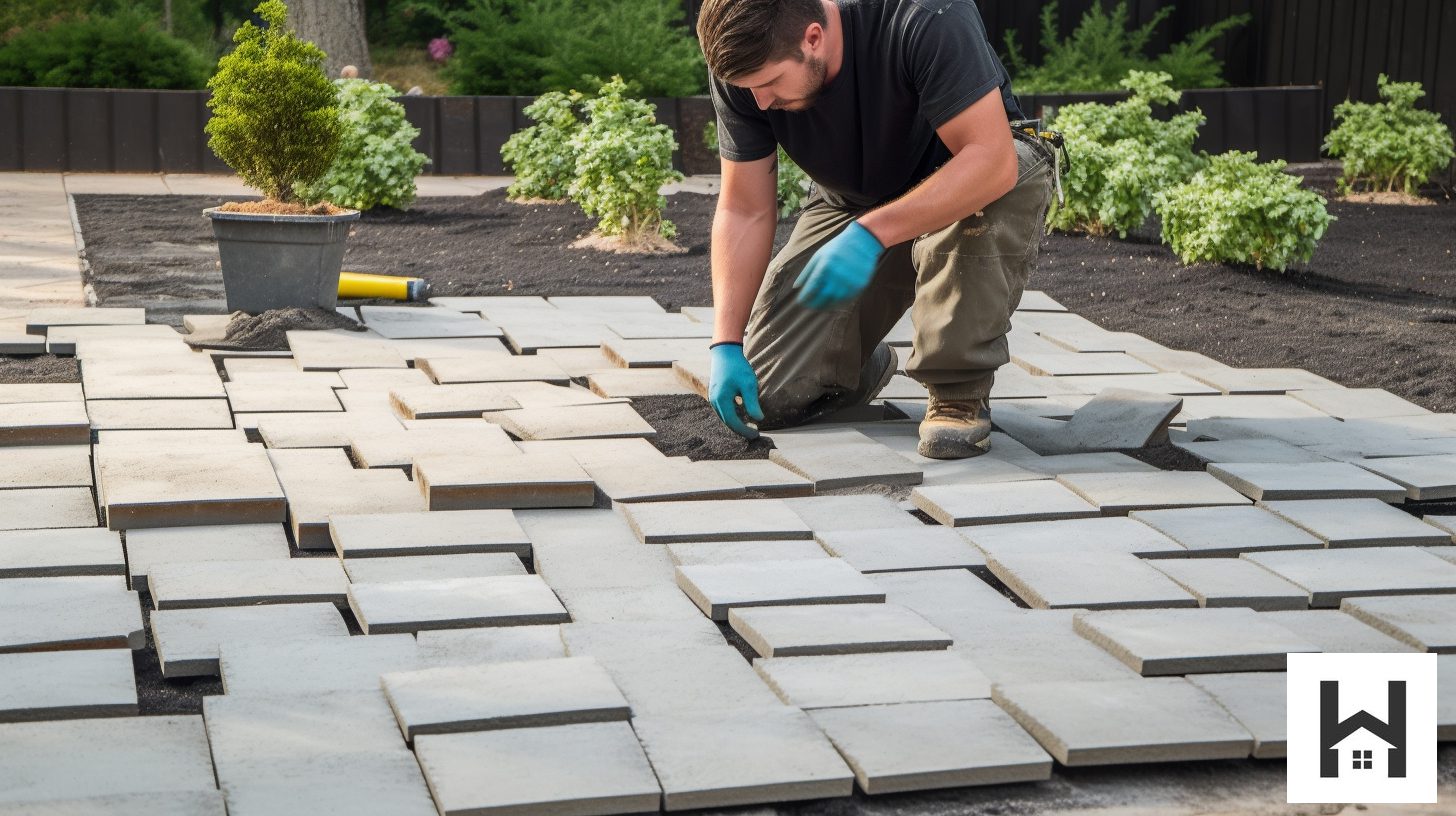
Once your patio paver edging is installed, the next step is to lay the pavers themselves. In this section, we’ll guide you through the process of choosing a pattern, starting from a corner, ensuring proper spacing, and cutting pavers when needed to create a stunning patio surface.
Choosing a Pattern
- Research different patterns: There are numerous paver patterns to choose from, such as herringbone, basketweave, and running bond. Research different patterns to find one that complements your patio design and style.
- Consider the size and shape of your pavers: The size and shape of your pavers will influence the available pattern options. Be sure to choose a pattern that works well with the specific pavers you’ve selected.
Starting from a Corner
- Begin at a corner or straight edge: To ensure a consistent pattern, start laying your pavers from a corner or straight edge of the patio.
- Use a string line or chalk line: Utilize a string line or chalk line to keep your paver rows straight and aligned.
Ensuring Proper Spacing
- Follow the recommended spacing: Each paver pattern has specific spacing requirements. Follow these guidelines to maintain a consistent and attractive pattern.
- Use spacers or joints: To maintain even spacing between pavers, you can use spacers or create joints using sand or polymeric sand.
Cutting Pavers When Needed
- Measure and mark the paver: If you need to cut a paver to fit your pattern or to accommodate an edge or obstacle, measure and mark the paver with a pencil or chalk.
- Use a suitable cutting tool: Depending on the material of your pavers, use a suitable cutting tool, such as a wet saw or a chisel and hammer, to cut the paver along the marked line.
- Smooth rough edges: After cutting the paver, smooth any rough edges with a file or sandpaper to ensure a clean and professional finish.
By following these steps for laying the pavers, you’ll create a visually appealing and durable patio surface that complements your patio paver edging and enhances the overall appearance of your outdoor space.
Step 4: Installing the Paver Edging
With the patio pavers in place, it’s time to install the edging to provide support and enhance the overall appearance of your outdoor space. In this section, we’ll discuss different types of edging, how to secure the edging material, ensure proper alignment, and connect and overlap the pieces for a seamless finish.
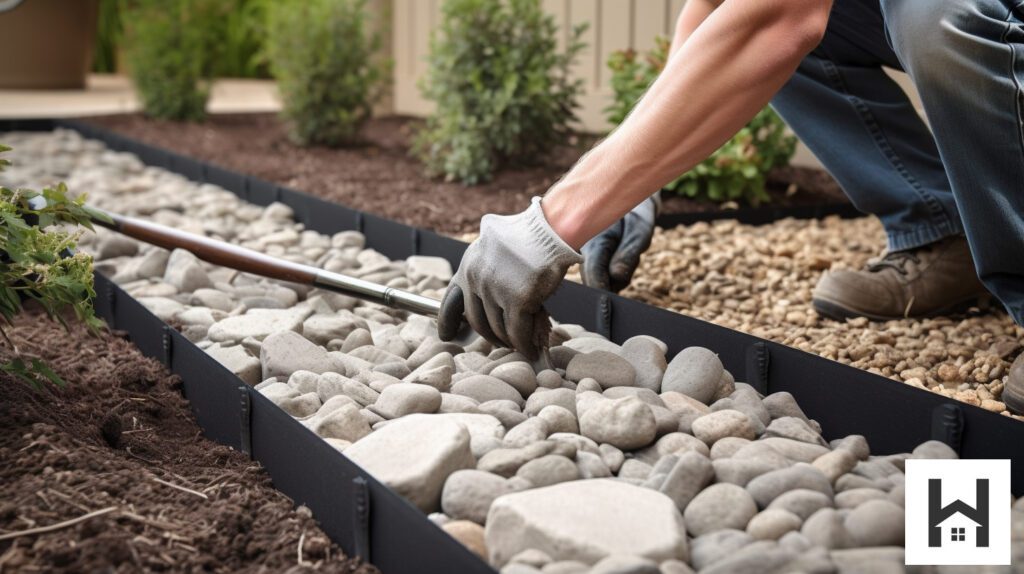
Different Types of Edging
As mentioned earlier, there are three main types of edging materials to choose from: metal, plastic, and concrete. Each material has its own unique characteristics, installation techniques, and aesthetic appeal. Be sure to select the edging material that best suits your patio design and personal preferences.
Securing the Edging Material
- Use landscape spikes or stakes: Regardless of the edging material you choose, it’s essential to secure it in place using landscape spikes or stakes. This will prevent the edging from shifting and provide additional support for the pavers.
- Space spikes or stakes evenly: To ensure proper support, space the spikes or stakes every 18-24 inches along the edging. This will help maintain the alignment and stability of the edging material.
Ensuring Proper Alignment
- Check for level: As you install the edging material, use a level to ensure that it is level and consistent along the entire length of the patio.
- Follow the desired shape: Make sure the edging material follows the desired shape of your patio, maintaining a consistent and smooth curve or angle as needed.
Connecting and Overlapping the Pieces
- Overlap the ends: When using metal or plastic edging, you’ll need to connect and overlap the pieces to create a continuous border. Overlap the ends of each section by at least 2 inches to provide a secure connection.
- Use connector clips: Some edging materials come with connector clips that can be used to join the pieces together. Follow the manufacturer’s instructions for connecting the edging material with these clips.
- Secure the connection: Drive a landscape spike or stake through the overlapping sections to secure the connection and prevent separation or shifting.
By carefully installing the edging material around your patio pavers, you’ll create a polished and professional look that enhances the overall appearance of your outdoor space while providing crucial support for the pavers themselves.
Step 5: Finishing Touches
After installing the patio paver edging and laying the pavers, it’s time to add the finishing touches to your project. In this section, we’ll discuss adding joint sand, compacting the patio area, and sealing the pavers (optional) to complete your patio and ensure its durability and longevity.
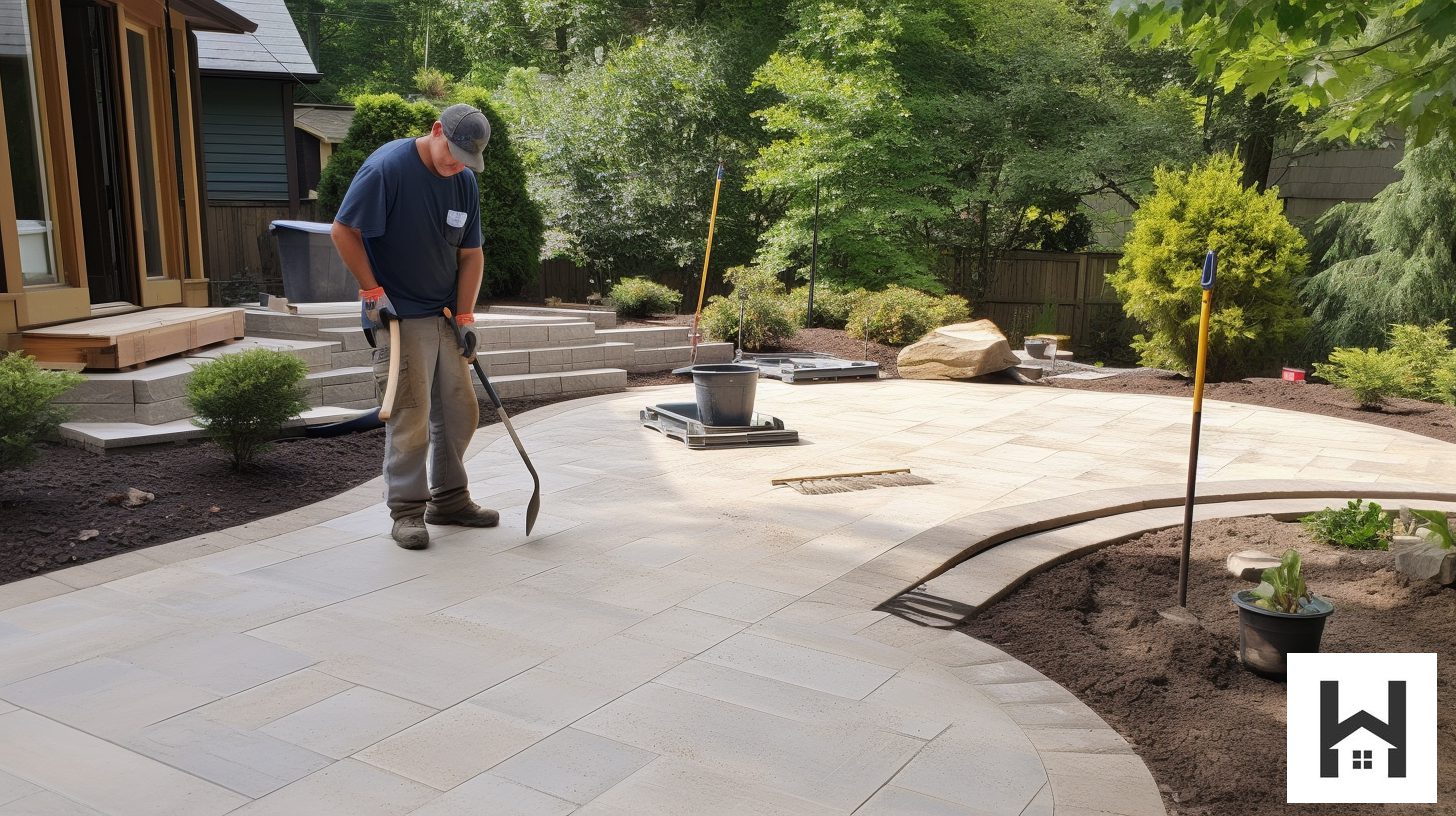
Adding Joint Sand
- Choose the right joint sand: Select either regular joint sand or polymeric sand for filling the gaps between the pavers. Polymeric sand contains a binder that hardens when wet, providing added stability and preventing weed growth.
- Spread the sand over the pavers: Using a broom, spread the joint sand evenly over the patio surface, ensuring that it falls into the gaps between the pavers.
- Fill the joints completely: Ensure that the sand fills the joints completely to provide support and stability for the pavers. You may need to sweep more sand over the surface and work it into the joints to achieve full coverage.
Compact the Patio Area
- Use a plate compactor: To ensure the pavers and joint sand are properly set and compacted, run a plate compactor over the entire patio surface. This will also help to level the pavers and remove any minor irregularities.
- Add more joint sand if needed: After compacting the patio area, check the joints for any areas where the sand has settled and add more if needed. Compact the area again to ensure the sand is firmly in place.
Sealing the Pavers (Optional)
- Determine if sealing is necessary: Sealing your pavers is optional but can provide additional protection against stains, weathering, and fading. If you choose to seal your pavers, select a sealer designed for the specific type of paver material.
- Clean the patio surface: Before applying the sealer, ensure the patio surface is clean and free of any dirt, debris, or sand.
- Apply the sealer: Follow the manufacturer’s instructions for applying the sealer to your patio surface. This typically involves using a roller or sprayer to evenly coat the pavers.
- Allow the sealer to dry: After applying the sealer, allow it to dry for the recommended time before using your patio.
By adding these finishing touches to your patio, you’ll ensure a beautiful, durable, and long-lasting outdoor space that you can enjoy for years to come.
Maintenance Tips
To keep your patio paver edging and the patio itself looking pristine and functioning optimally, regular maintenance is crucial. In this section, we’ll provide tips on regular cleaning, addressing weeds and moss, and replacing damaged pavers and edging to help you maintain the beauty and durability of your outdoor space.
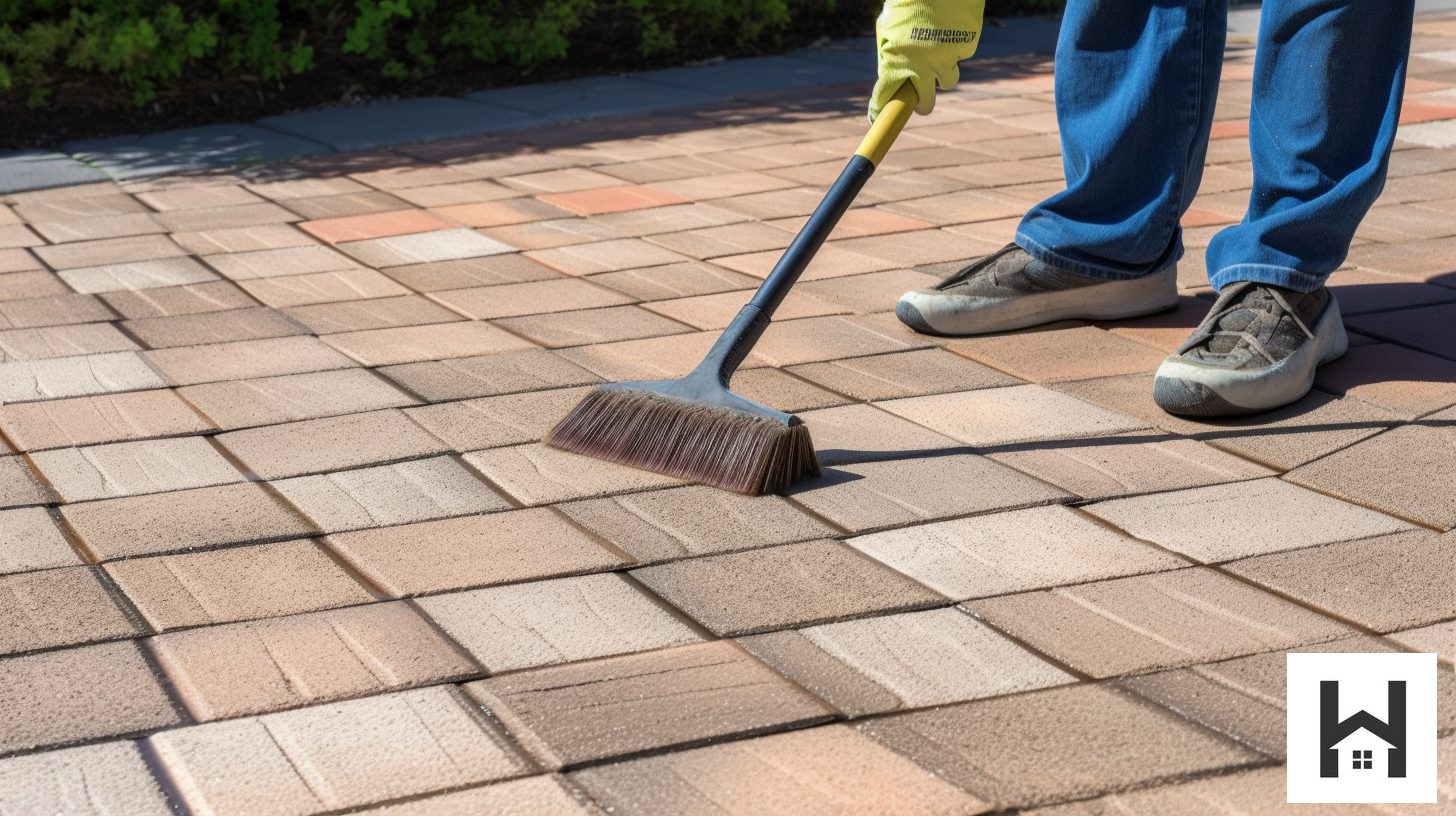
Regular Cleaning
- Sweep the patio: Periodically sweep your patio to remove leaves, dirt, and debris that can accumulate on the surface and in the joints between the pavers.
- Wash the patio: Occasionally use a garden hose or pressure washer (on a low setting) to wash away dirt and stains. Be sure to avoid using harsh chemicals that can damage the pavers and edging material.
- Remove stains promptly: Address spills or stains as soon as possible by blotting the affected area with a clean cloth and using a mild detergent if necessary.
Addressing Weeds and Moss
- Use a weed remover tool or knife: If weeds or moss appear between the pavers, use a weed remover tool or a knife to carefully remove them without damaging the surrounding pavers or edging material.
- Apply a natural weed killer: Consider using a natural weed killer, such as vinegar or boiling water, to treat persistent weeds or moss. Avoid using harsh chemicals that can damage your patio materials.
- Maintain joint sand levels: Ensure that the joint sand levels between the pavers are maintained, as this can help prevent weed and moss growth.
Replacing Damaged Pavers and Edging
- Inspect the patio regularly: Regularly inspect your patio for any signs of damage, such as cracked or chipped pavers or damaged edging.
- Remove the damaged paver or edging: Carefully remove the damaged paver or edging material, taking care not to disturb the surrounding pavers or edging.
- Replace with a new piece: Install a new paver or edging material in the vacated space, ensuring that it is level and properly aligned with the surrounding materials.
By following these maintenance tips, you’ll keep your patio paver edging and patio surface looking great and functioning properly, ensuring that your outdoor space remains a beautiful and enjoyable retreat for years to come.
FAQs
How long does it take to install patio paver edging?
The time required to install patio paver edging depends on the size of the patio and the chosen edging material. For most projects, expect to spend a day or two on installation.
Can I install patio paver edging myself, or should I hire a professional?
While installing patio paver edging can be a DIY project for homeowners with some experience in landscaping or home improvement, hiring a professional may be recommended for larger or more complex projects, or if you are using concrete edging that requires custom design and installation.
How do I maintain my patio paver edging?
To keep your patio paver edging looking its best, periodically inspect the edging for any signs of damage or shifting. If you notice any issues, address them promptly to prevent further deterioration. Additionally, keep the area clean and free of weeds and debris, and consider sealing your pavers to protect against stains and weathering.
Can I replace or upgrade my patio paver edging without redoing my entire patio?
Yes, it is possible to replace or upgrade your patio paver edging without redoing the entire patio. However, this process may require some disassembly of the existing pavers and can be labor-intensive. It is important to consult a professional or follow proper guidelines to ensure a successful outcome.
What would be an estimated cost for an average patio paver installation project?
The estimated cost for an average patio paver installation project can vary significantly based on factors such as the size of the patio, the type of pavers and edging materials used, labor costs, and your geographical location. Generally, you can expect to spend between $10 and $20 per square foot for a basic patio paver installation.
For example, a 200-square-foot patio could cost between $2,000 and $4,000, depending on the factors mentioned earlier. Keep in mind that this is a rough estimate, and costs may be higher or lower depending on the specific circumstances of your project. To get a more accurate quote, it’s best to consult with a local professional who can assess your project and provide a tailored cost estimate based on your needs and preferences.
Conclusion: Create a Stunning Outdoor Space with Patio Paver Edging
Installing patio paver edging is an essential step in creating a beautiful and functional outdoor living space. By following the detailed steps outlined in this guide, you can achieve a professional-looking result that enhances the overall appearance and longevity of your patio. Whether you choose to tackle this project on your own or enlist the help of a professional, the addition of paver edging will elevate your outdoor space and provide a polished finishing touch that will be admired for years to come.


