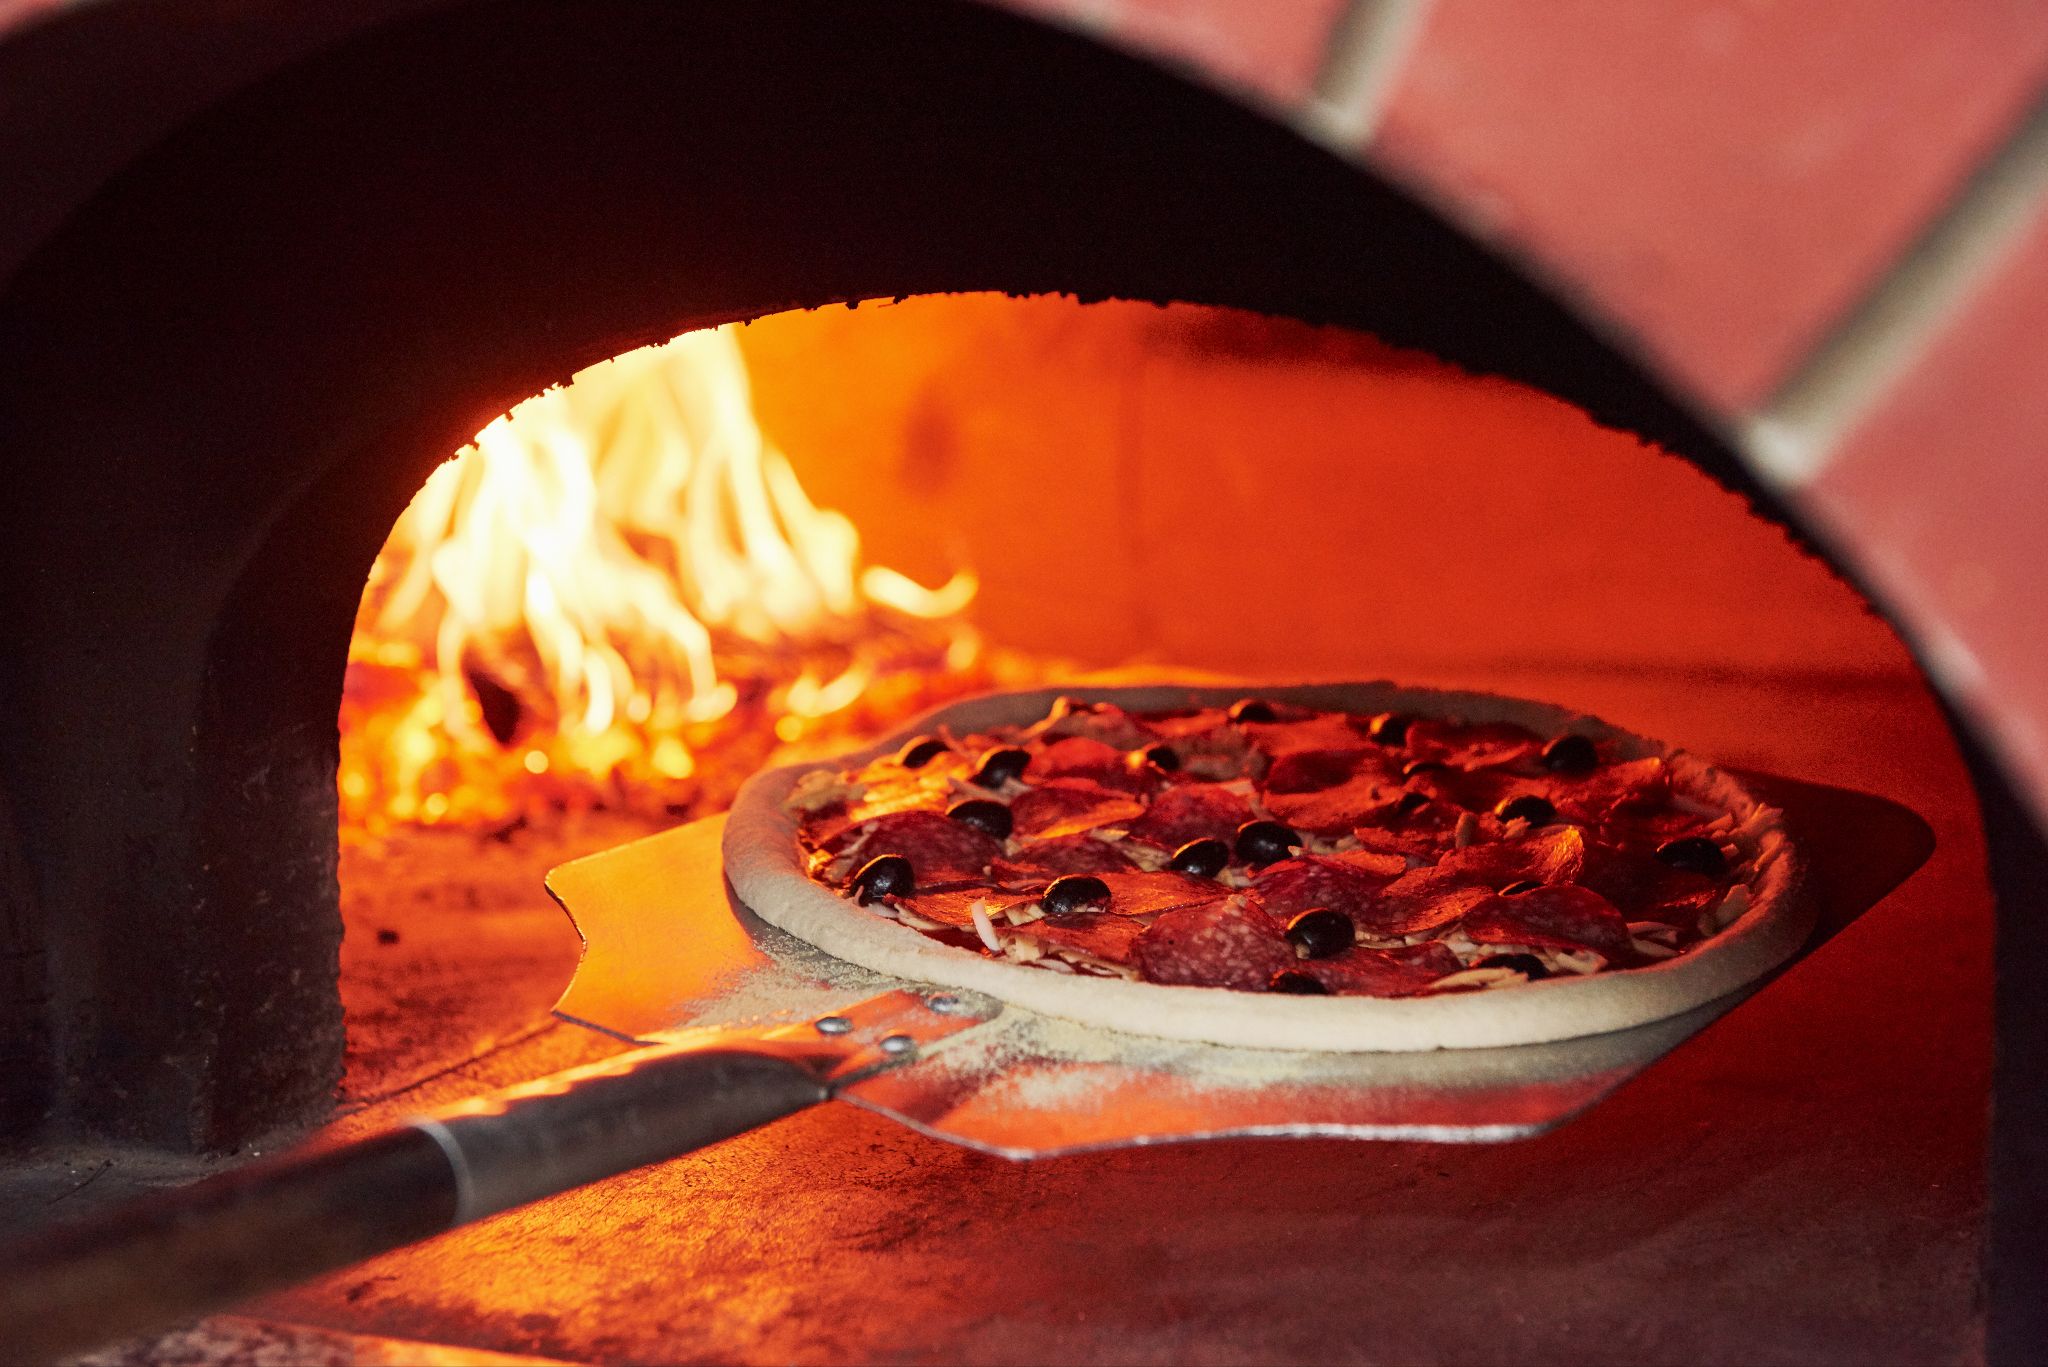
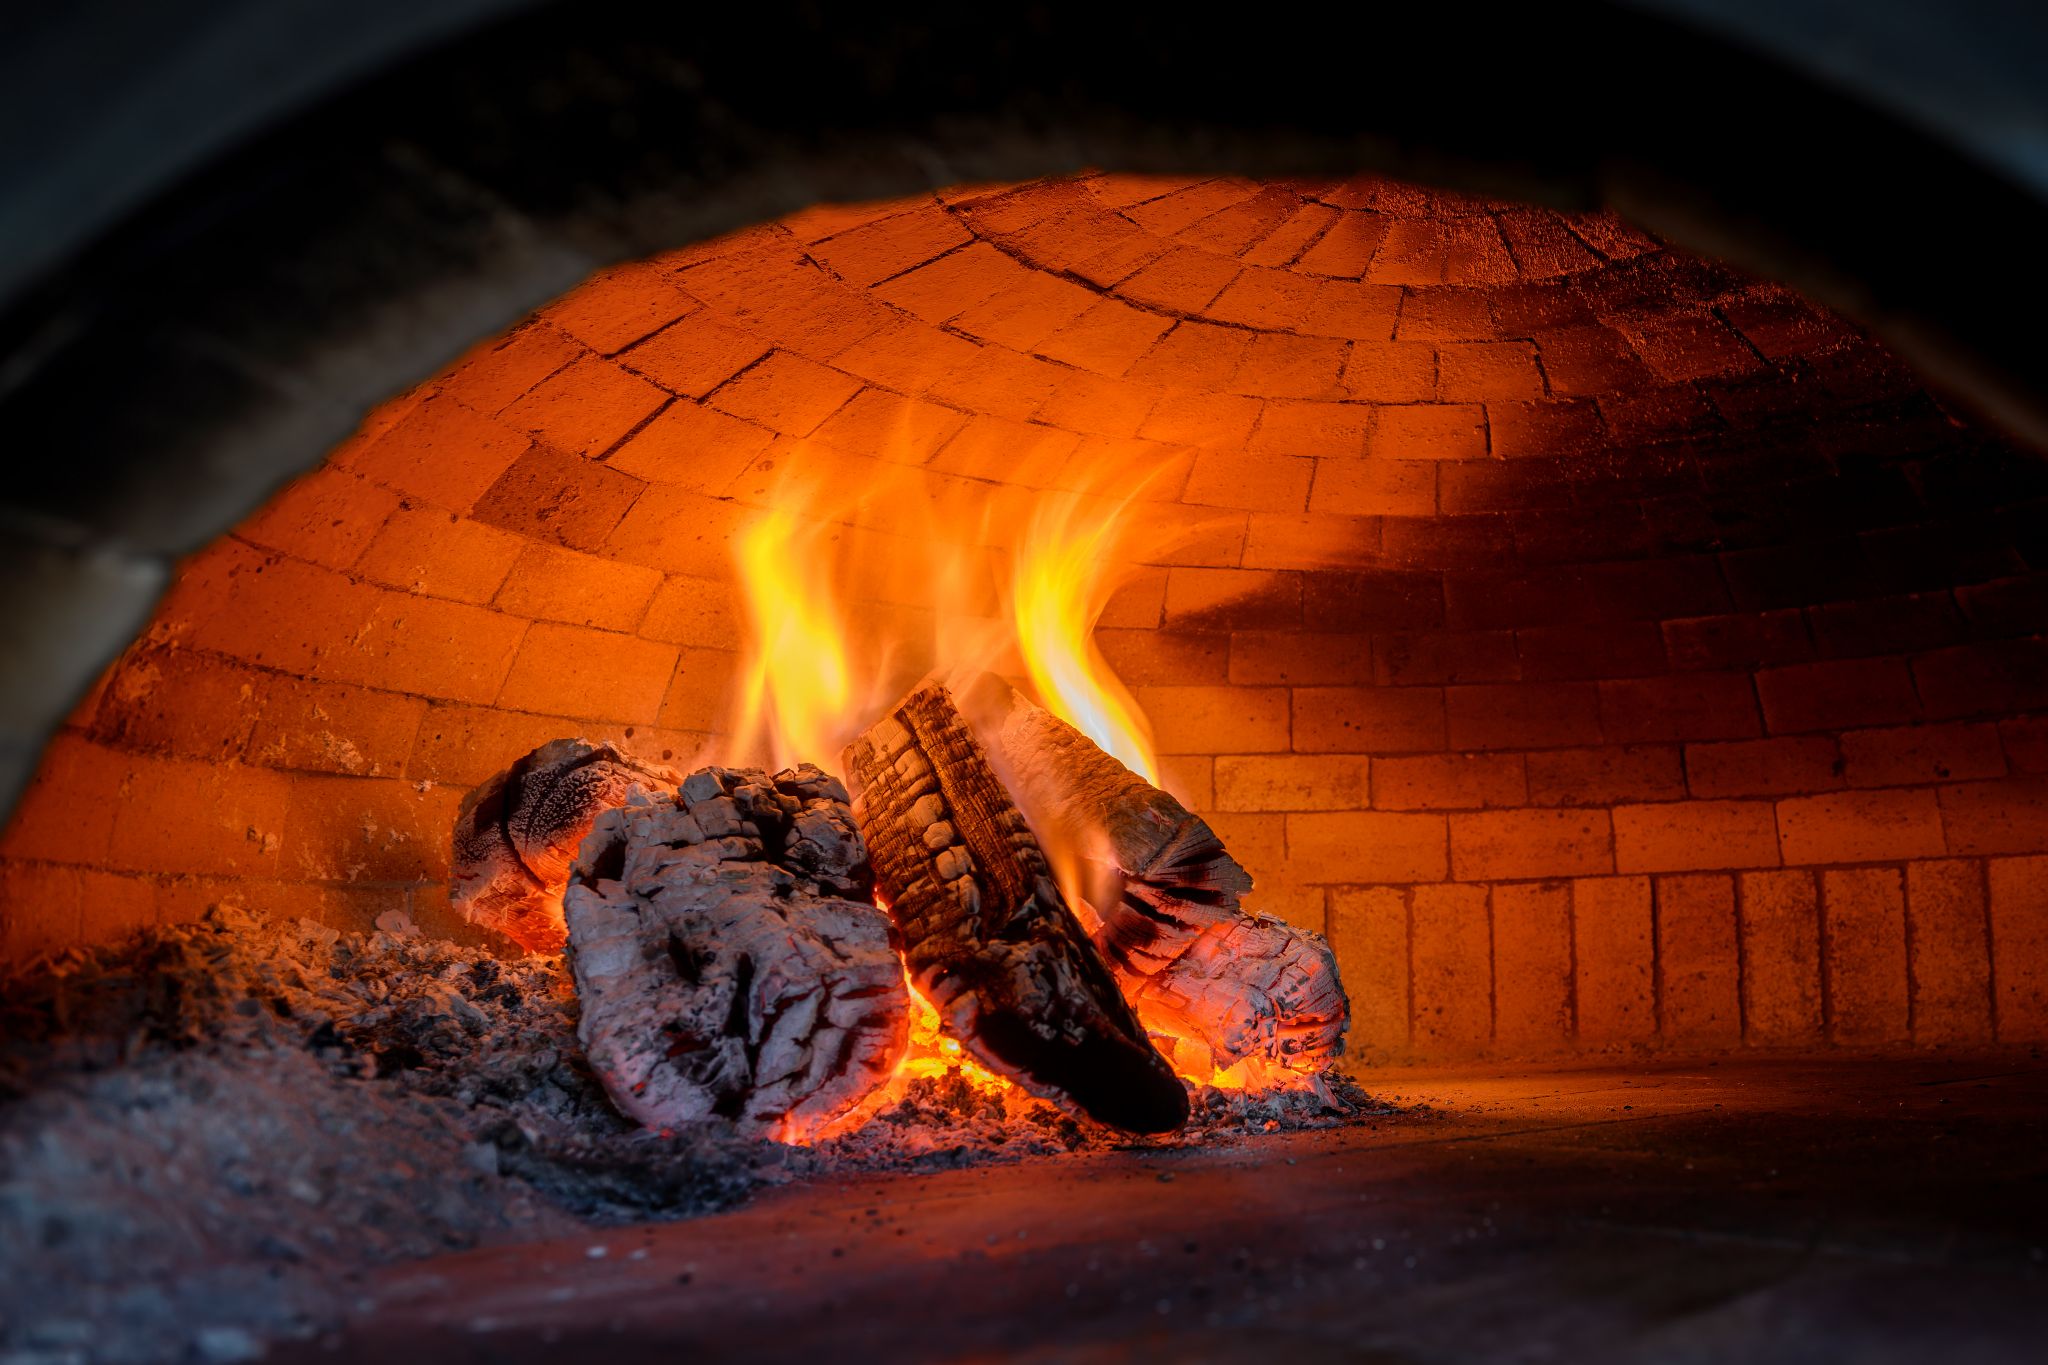
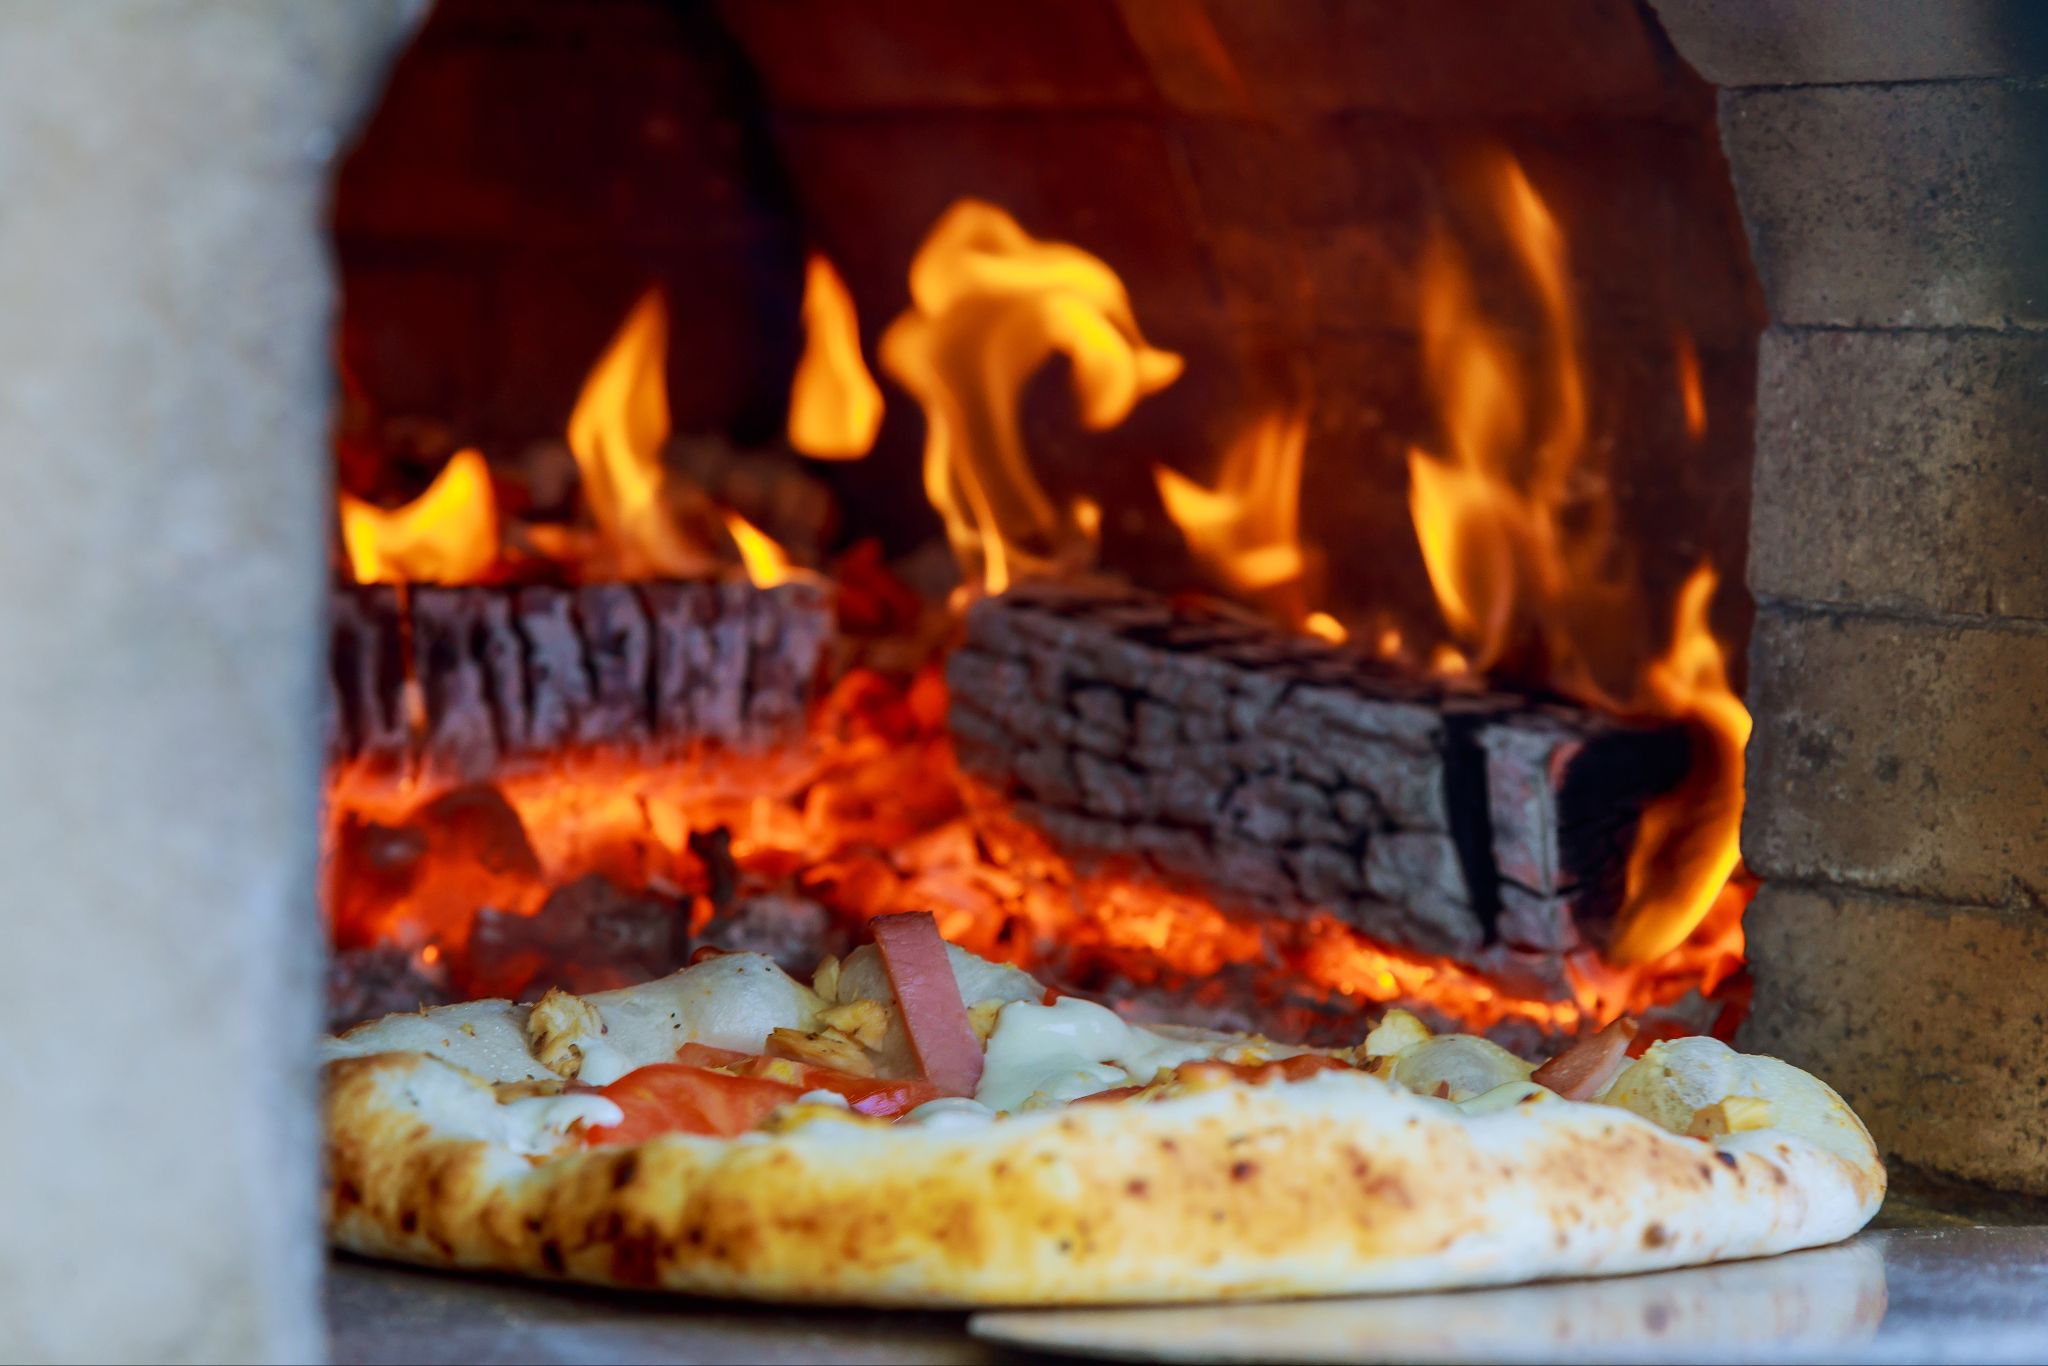
Imagine the aroma of freshly baked pizza wafting through your garden, the crackling sound of a wood fire, and the warmth of a flame-kissed oven. This isn’t just any pizza — it’s your creation, from the dough to the toppings and, most importantly, the oven itself. Building a DIY wood-fired pizza oven in your garden is more than a weekend project; it’s an invitation to explore traditional cooking methods, gather with friends and family, and enjoy the unparalleled taste of wood-fired pizza. The satisfaction of constructing your own pizza oven, coupled with the joy of outdoor cooking, makes every slice of pizza taste even better. This article will guide you step by step through the process of building a DIY outdoor pizza oven, ensuring you have all the knowledge and tools to bring this delightful experience to your backyard.

Planning and preparation
A proper plan is the backbone of any building endeavour. Here’s what you should take care of before going for your new pizza oven:
Location and design
Choosing the right spot for your outdoor pizza oven is crucial. It needs to be easily accessible, preferably near your outdoor kitchen or dining area, while ensuring good airflow to keep the fire burning efficiently. Consider the direction of prevailing winds in your garden and the distance from your house and foliage to avoid smoke issues. The design of your pizza oven, including the essential elements such as the oven dome, floor, and chimney, should harmonize with your garden’s aesthetics while being functional. Planning the size is also vital; think about how much pizza (or bread and roasted meats) you plan to cook to determine the ideal oven dimensions.
Materials and tools needed
To build a sturdy and efficient pizza oven, you’ll need specific materials designed to withstand high-temperature environment and outdoor conditions. Here’s a comprehensive list:
- Fire bricks: For the oven floor and dome, as they’re designed to handle high temperatures and ensure even heat distribution for cooking pizza.
- Refractory mortar: Essential for bonding fire bricks securely, ensuring they withstand the thermal expansion and contraction during heating.
- Concrete blocks: Serve as the foundation of your oven, providing stability and strength.
- Landscape adhesive: For extra durability and to enhance the oven’s aesthetics.
- Glass bottles: An unconventional yet effective material for insulation beneath the oven floor.
- Damp sand and chicken wire: To form the shape of the oven dome.
- Cement board and refractory cement: For additional insulation and structure.
Tools required for the building process include an angle grinder (for cutting bricks), a dust mask (safety first!), a trowel, a level, and a measuring tape. Gathering all materials and tools before starting the project will streamline the building process, ensuring everything you need is at hand.

Building the foundation
With all the materials taken care of, it’s time to start building your wood-fired oven. The first steps are the base and pizza oven floor.
Creating the base
The foundation of your outdoor pizza oven is as crucial as the foundation of a house. It needs to be stable, level, and strong enough to support the weight of the oven. Begin by choosing a flat area in your garden, as identified in the planning phase. Once you have the location, it’s time to start on the base.
- Concrete slab: Start by laying a concrete slab. This slab should be at least 4 inches (ca. 10 cm) thick to ensure stability and longevity. Incorporate a wooden frame to shape the slab and use concrete blocks to elevate the oven base. This elevation is not just functional, keeping the oven at a convenient height, but also aids in protecting the oven from ground moisture.
- Insulation layer: Before you lay the oven floor, consider an insulation layer to improve heat retention. Glass bottles, laid flat and covered with a sand-cement mix, can provide a cost-effective and efficient insulation layer. This layer ensures that heat is directed upwards into the oven, improving its efficiency.
Floor installation
The oven floor is the stage where your pizza will cook, so it’s vital to get it right.
- Laying fire bricks: Lay your fire-brick layer directly on the insulation or a thin layer of refractory mortar for a more durable surface. Ensure that the bricks are laid as closely together as possible to create a smooth, flat surface. The goal is to minimize spaces between bricks where food and ash can accumulate.
- Level and Smooth: Use a spirit level to ensure that the entire oven floor is level. A flat and even floor is crucial for evenly cooked pizzas and bread.
With the foundation laid, and the floor installed, your pizza oven is starting to take shape. Next, we’ll move on to constructing the dome, which is where the magic of wood-fired cooking happens.
Constructing the dome
After you’re done with the base and floor, it’s time for the main part — getting the dome ready. Here’s what you should do to make a perfect pizza oven dome:
Forming the dome shape
The dome is the heart of the pizza oven, where heat circulates to cook your food evenly. Constructing a solid and symmetrical dome requires careful attention to detail.
- Dome Form: Use damp sand to form the shape of your dome. This method involves building a sand mound on the oven floor, representing the internal cavity of your pizza oven. Cover this sand form with chicken wire or a similar mesh to provide a base for applying your mortar or clay.
- Applying Material: Over the chicken wire, apply a thick layer of clay or refractory mortar. This layer should be uniform and smooth to ensure even heat distribution inside the oven. Allow this layer to dry slightly before moving on to the bricklayer.
Building the brick dome
The brick dome contributes to the oven’s efficiency and adds to its aesthetic appeal.
- First course of bricks: Begin by laying the first course of bricks around the base of the dome. Use refractory mortar to secure these bricks in place. Remember to leave a space for the oven opening.
- Subsequent layers: Continue adding layers of bricks, following the curvature of your sand form. Each layer should slightly overhang the one below it, gradually closing in to form the dome. Cutting bricks to fit may be necessary as you near the top of the dome.
- Completing the dome: The final bricks will create the apex of the dome. It might be necessary to shape these bricks so they fit snugly together. Once the dome is complete, carefully remove the sand form from inside, revealing the cavity where your pizzas will bake.
Constructing the dome is a meticulous process, but it’s also one of the most rewarding parts of building your DIY outdoor pizza oven. With the dome completed, you’re one step closer to enjoying delicious pizza in your backyard.

Doorway and chimney
And finally, it’s time for completing your oven with some crucial openings.
Constructing the oven opening
The opening of your pizza oven is not just a functional entryway; it’s the threshold to delicious, wood-fired creations. To construct the doorway:
- Measure and Mark: First, determine the size of your oven opening. A typical opening is about 10 inches (ca. 25 cm) high and 16 inches (ca. 41 cm) wide, allowing for easy access without letting too much heat escape.
- Brick Frame: Use fire bricks to frame the opening, securing them with refractory mortar. Ensure the bricks are aligned and level to form a sturdy entrance.
- Lintel: Place a lintel over the opening to support the bricks above. This can be a steel bar or a thicker fire brick.
Installing the chimney
The chimney is crucial for drawing smoke out of the oven and promoting good airflow.
- Chimney flue: Position the chimney flue at the front of the oven dome, just above the opening. It should extend at least 15 inches (ca. 38 cm) above the top of the dome to ensure efficient smoke extraction.
- Securing the flue: Use refractory mortar to secure the flue in place. You might also need to use angle brackets or a similar method to reinforce the chimney, especially if it’s tall or exposed to strong winds.
Finishing touches
Before your wood-fired pizza oven is ready to use, there are a few finishing touches to take care of.
Curing the oven
Before you can start cooking, the oven needs to be cured. This process slowly drives out moisture, preventing cracks and ensuring structural integrity.
- Small fires: Start with a small fire, gradually increasing in size over several days. This gentle approach allows the moisture to evaporate without damaging the bricks or mortar.
- Temperature monitoring: Monitor the temperature closely. The first fire should not exceed 300 °F (ca. 149 °C), gradually increasing to 500 °F (ca. 260 °C) over subsequent firings.
Aesthetics and durability
Once cured, you can personalize your oven and protect it from the elements.
- Final coat: Apply a final coat of refractory mortar or render to smooth out the dome’s exterior. This improves the oven’s appearance and adds an extra layer of insulation.
- Decoration: Add tiles, mosaics, or even a lime wash for a Mediterranean look. Be creative—this is your chance to make the oven truly yours.
- Weatherproofing: Consider a waterproof sealant to protect your oven from rain and frost. A well-fitted cover when not in use can also extend its lifespan.

Maintenance and usage
Now that your DIY pizza oven is ready, let’s have a look at maintaining it in good condition and some of the cooking possibilities it provides.
Keeping your oven in top shape
Regular maintenance ensures your oven remains safe to use and extends its life.
- Cleaning: After each use, sweep out ash and food debris. A brass brush is gentle on the bricks and effective at removing residues.
- Inspections: Periodically check for cracks or wear, especially in the dome and around the opening. Small cracks can be fixed with refractory mortar.
Cooking beyond pizza
While pizza might be the star, your wood-fired oven is versatile.
- Baking bread: The residual heat after pizza night is perfect for baking bread. The oven’s heat distribution gives the bread a crispy crust and soft interior.
- Roasting meats: For roasting, let the fire burn down to coals. The oven’s radiant heat cooks meat evenly, sealing in flavours.
DIY pizza ovens — conclusion
Building a DIY outdoor pizza oven is a rewarding project that enhances your outdoor living space and cooking repertoire. From the foundation to the final touches, each step brings you closer to enjoying your own pizzas, bread, and roasted meats. With this comprehensive guide, you’re well-equipped to embark on this delicious DIY journey. Gather your materials, rally your patience and creativity, and soon, you’ll be basking in the warmth of your own pizza oven, ready to cook up memories that will last a lifetime.


